Note Friends: For a limited time (until April 4th, 2024), I’m running a fundraiser for a non-profit organization ’Planeterra’. Please help me support Planeterra by making a donation through my fundraising page.
Planeterra is a non-profit organization that supports multiple small communities worldwide by running various projects to empower the communities where G Adventure travels. More about Planeterra can be found on my page.
If you enjoyed reading this post and would love to make a small difference to the communities around the world. Even a small donation will help me achieve my goal! The process is fast, easy, and secure. Thanks so much for your support.
https://www.classy.org/fundraiser/5315896
Now back on to this post! Thanks & Cheers!
Note: I have not been paid by any company or brand mentioned in this article. All recommendations and reviews are based on my own preferences only.
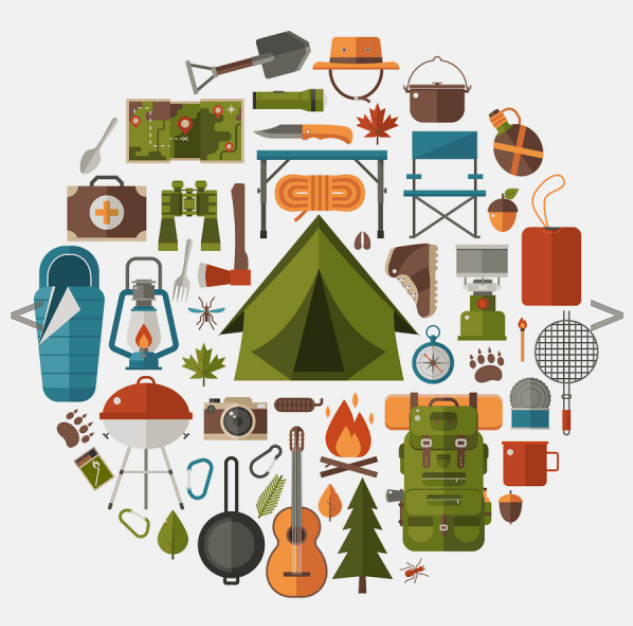
This article will guide you in packing efficiently for a weekend backpacking trip. Following checklist is created as per my preferences only. You should create your own checklist using the information provided in this article and keep on altering that list, based on your own experiences, after every trip until you get it right.
I have also provided names, pictures and my reviews about the products/brands which I have used. For some items, I have also provided a link to its website.
Backpack
Let’s start with the most obvious of all items – a backpack. A happy hiker is one who can fit all his/her items inside or on the backpack. Based on the weather and camping scenarios you may need a backpack ranging from a capacity of 20 liters to 50 liters.
If you are going to camp in a cold weather, you will need to carry extra layers of warm clothing which are not only heavy but also bulky. In contrast, if you are going to backpack in the middle of a hot desert, you may want to carry enough water and food to keep yourself hydrated and replenished. For either scenarios, a good backpack with enough room to store all your camping gear is very essential for a smooth trip.
I have an Osprey Kestrel 38 backpack. It is ideal for short excursions or weekend trips – less then 4 days. It also has additional features like loops to hang ice axes and hiking poles for technical climbing. They have a variety of options to choose from, depending on the kind of adventure you choose.

For those who do not need technical features, there are other options like Stratos and Sirrus series.
Tent
You may or may not need a tent based on your sleeping arrangement – camping or shelter. There are many places that have shelters which are covered to protect you from rain/snow wherein you could simply pop a sleeping bag and you bed is ready (Check in advance if there are shelters available where you are going to hike).
When shelters are not available, you will most likely need a tent to protect yourself from inclement weather and hungry insects and bugs.
There are two main types of tents – 3 season tents or 4 season tents. Later is required only if you are going to hike in the winter, when temperature is going to remain below freezing for most of the time or in areas receiving very heavy rain or snow.
There are many companies manufacturing premium quality tents like North Face, MSR, Big Agnes, REI Co-op and many more. For beginners, REI Co-op is a good brand in terms of affordability. For extreme terrains and weather conditions, Big Agnes or MSR should be your top choice.
I use a REI Arete ASL 2 tent which is a 2-person, 4-season tent. I prefer 2 person tents for solo trips as it provides enough room for my backpack and boots to be kept inside as well as for me to sleep comfortably. The only complaint that I have for this tent is that it forms heavy condensation if rain fly is not attached. Except for that, it performs exceptionally well and I have also used it in below freezing temperatures.

Sleeping Bag and Sleeping Pads
Sleeping Bag
Sleeping Bag is one of the most important items in your backpack. In cold weather, uncomfortable sleeping bag will keep you sleep deprived and cause fatigue for the remaining of your trip.
There are many kinds of sleeping bags available on the market. For this article, I will discuss only about those bags which are convenient for a backpacking trip. The kind of sleeping bag you need to carry is mainly dependent on the weather. I would recommend getting a sleeping bag rated 10 degrees colder than the minimum temperature forecast.
One important factor while selecting a sleeping bag is its weather rating. Sleeping bags come as 2-season, 3-season or 4-season (Cold Weather) bags. 3-season bags are most common as they can be used in both summer and winter (except extreme weather conditions).
Another factor is Insulation – Down vs. Synthetic. Down insulated bag is an obvious choice when it comes to backpacking. It provides best warmth-to-weight ratio and is also warmer compared to synthetic bags. Though, they are expensive than synthetic bags. Also, synthetic bags perform better in wet weather. Browse different options on the market before buying one.
Another important factor is size and shape. This may be a subjective opinion. In general, larger bags with more room will retain less heat. It depends on whether you prefer sleeping comfortably in a larger space or sleeping warm.
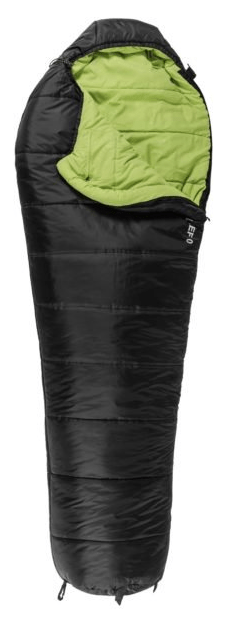
Teton Sports Leef 0F sleeping bag is one of my most valuable purchases in camping gear. This sleeping bag is very cozy with the right amount of space to sleep comfortably and warm. It also has a pocket on the top cover to store phone, glasses or other small item. It is so comfortable that I use it in the warmer temperatures as well by keeping it unzipped.
Other companies manufacturing premium sleeping bags are Western Mountaineering, Feathered Friends, NEMO and REI Co-op.
Sleeping Pad
Sleeping Pad is also as important as the sleeping bag. A good sleeping pad will provide a cushion between your back and the hard gravel surface, which will prevent you from having back aches in the morning. It also protects your expensive sleeping bags from damage.
Sea to Summit, REI Co-op, Big Agnes and Therm-a-Rest produce premium quality sleeping pads. For beginners, you could also try out budget friendly sleeping pads from NEMO, TNH, Exped, Mountain Equipment or Klymit.
I prefer to save some weight on sleeping pad. Hence, I use Big Agnes Third Degree Foam Pad for both backpacking and camping.

Though there are several advantages of using this pad, it has few drawbacks. It does not pack as small as other insulating sleeping pads and it is not very comfortable in hard surface with gravels. But, what I like about this product is that not only it is a lot cheaper then other premium insulating sleeping pads but it is also very light to carry on long steep trails.
Clothing System
“There is no bad weather, only bad clothing”
– Norwegian saying
Clothing system for summer travel or hiking in warm or mild temperatures is simple consisting of cotton shirts and shorts or light cotton tracks. A hat to protect from UV rays and UV protected sunglasses are essential too.
Backpacking in winter or cold temperature requires you to follow a layering system which is not as simple as clothing system in summer. There is no right or wrong method of layering up for winter. But, in general a layering system consists of 3 layers – Base, Mid & Top. Depending on weather, you may require an additional layer (very cold temperatures) or you may even suffice with 2 layers (mild winters).
Base Layer
Base layer is worn against the skin and the fit should be relatively snug. It is worn for its moisture wicking properties. It’s primary function is to draw sweat away from the body, making the wearer feel warmer and more comfortable.
There are many materials and qualities of Base Layers available in the market ranging from budget friendly to very expensive premium quality products with many features. For backpacking, two common types of materials preferred for base layers are Synthetic and Merino Wool.

Synthetic Base Layers are cheap and also dry very quickly, but they have poor breathability which will leave you sweaty and smelly!! Hence, they are good for short excursions or activities, but not suitable for long day or weekend treks.
Merino Wool Base Layers are expensive but they have excellent odor control with an average performance. It can be worn for long strenuous hikes, even days and still it will not smell. They are also softer and more comfortable to the body. But, one drawback to these is that they are not as durable as Synthetic Base Layers.

I personally use Smartwool base layers. Smartwool is one of the most trusted brands for merino wool clothing. I have used various Smartwool products and am extremely happy with all of their products.

Another brand which I was accidentally introduced to and fell in love with is Montane. I own a Montane Allez Micro Hoodie which I use on every other hike. It is one of the most comfortable base layers I have. Other brands that manufacture good quality base layers are Mountain Equipment and Patagonia.
Middle (Insulation) Layer
As the name suggests, insulation layer traps heat and keeps the body warm. If the weather is not very cold, 3 layer system should be comfortable. For extremely cold weather, another layer is added on top of middle layer for extra warmth.
Middle layers are made of polyester fleece. In general, more thick equals more warmth. Fleece layers are very breathable, stays warm even when they are damped and dries quickly too. Also, a wind protection (wind jacket) would be valuable when you are hiking on mountain ridges or exposed landscapes.
I use REI Polartec Fleece Jacket, which is discontinued at the time of writing. There are several brands providing good quality fleece jackets like North Face, Arc’teryx, Patagonia, Mammut and Outdoor Research.
For wind jackets, I use a Kuhl’s Impakt Jacket which is a budget friendly windshield. There are many companies manufacturing good windshields like Patagonia, Arc’teryx , Black Diamond, Outdoor Research, Marmot and Mountain Hardwear.
3rd Layer for very Cold Weather
In extreme cold temperatures, an additional layer is added: Down Insulated (aka “Puffy”) or Synthetic Insulated. Compared to synthetic, down provides more warmth and are compressible and light weight which means easy to pack. But, there is a drawback with puffy jackets is that they lose their insulating property when they get wet and also takes time to dry.
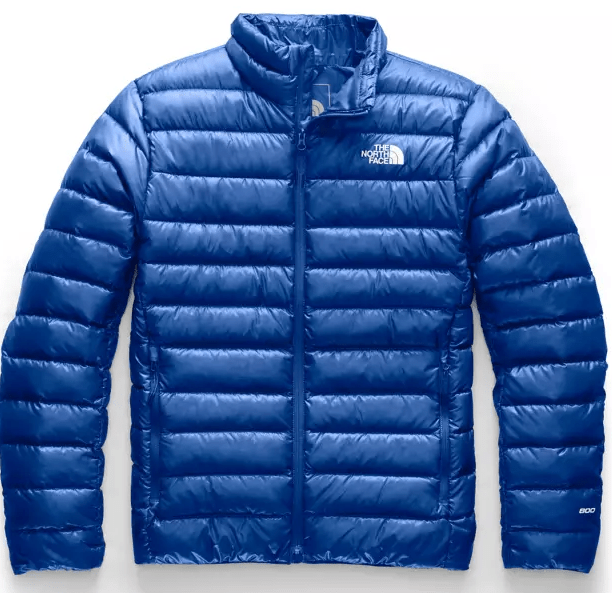
But, the advantages of down jackets are far greater compared to synthetic and hence they are my preferred choice. I have a North Face Down jacket since 3 years and I use it everywhere from Hiking, Camping to daily commutes and city use. Other premium brands to check out for are Feathered Friends, Patagonia, Arc’teryx, Canada Goose and Mountain Hardwear.
Pro Tip: You can wear puffy jackets during hiking breaks to retain body heat.
Top Layer: Rain/Snow Protection
Top layer aka ‘Hard Shell’ are so called as their primary function is protection from rain and snow. There are two main kinds of hard-shells – one is waterproof breathable and another is water-resistant breathable. As the name implies, former is more durable and fully storm proof compared to later. If money is not a problem, you should buy waterproof top layers made using Gore-Tex fabric as they are durable and of premium quality.
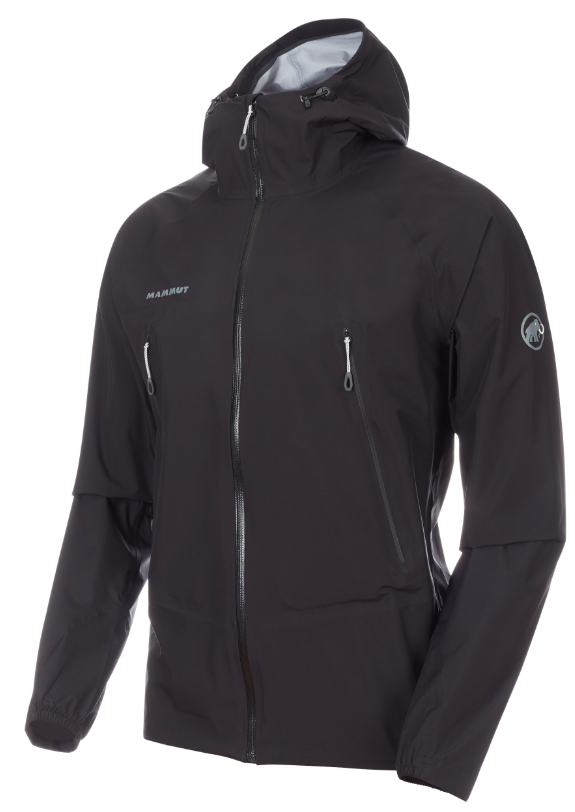
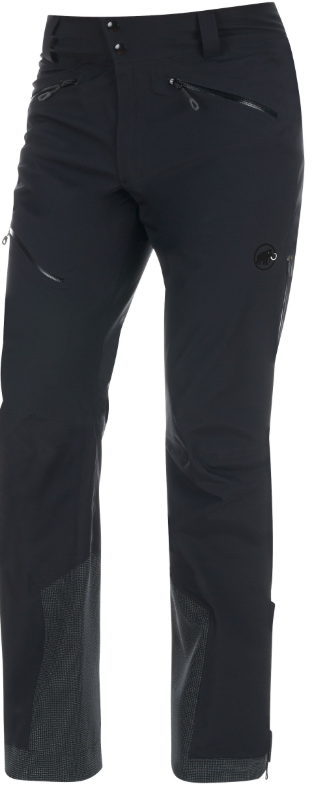
Also, research about the destination’s weather and buy a top layer accordingly. I have a Mammut hard-shell jacket and pants and they have been useful both in the wild and city life.
Footwear
Hiking/Mountaineering Boots
Good pair of boots = happy feet!! I like to wear comfortable running or workout shoes on easy and intermediate hikes. On difficult or winter hikes, I prefer mountaineering boots.
You can also pack a pair of flip flops for comfortable evenings at campsites. Though, I like to keep them at home to save some weight & volume, instead keep my shoes on until I am ready to sleep.
I cannot stress enough on how important correct pair of boots are for hiking. Getting a wrong shoe size or material may cause blisters and ultimately spoil your adventure.
Pro Tip: Wear out your new shoes before the trip. New shoes are more likely to cause blisters.
If you are buying mountaineering boots for hiking on glaciers, make sure the shoes are compatible with the crampons you have or are planning to buy.

I have a pair of Lowa Mountain Expert GTX Evo Mountaineering Boots. Lowa is a great brand for beginners and professionals alike. They have a wide variety of boots available for various activities like hiking, mountaineering, backpacking, rock climbing and more. For regular shoes I am loyal to Nike. Other good brands for hiking boots are Salomon, Merrell, Scarpa and La Sportiva.
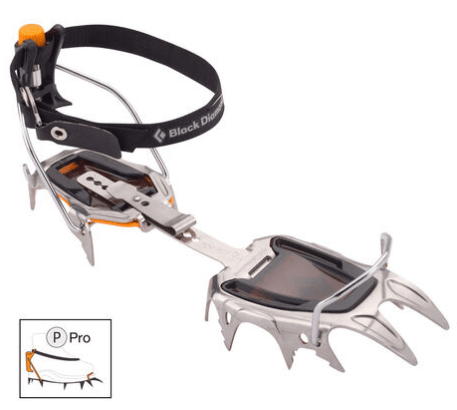
Crampons
This is an optional item, based on the location and weather. Crampons are required for hiking on glaciers or icy trails. Black Diamond makes good crampons for a variety of use – Ice Climbing, Technical Mountaineering, Glacier Travel or Ski Mountaineering. I have used Black Diamond Sabretooth on a couple of trails and I find it extremely comfortable and easy to use. Petzl and Grivel are other brands which makes very good crampons as well.
Food
“If you alter your regular diet on the mountains, the mountains will devour you”
– A random thought
Irrespective of your fitness, if you do not eat well in the woods, your chances of a successful hike is bleak. Food is the most critical item in your backpack. Many backpackers make mistakes in packing right amount of food even after lots of experience in backpacking. Some pack extra, some pack less and some pack the wrong food for the wrong place. Very few hikers know how to pack the right amount of food for the trip. Even I have made many mistakes in the past by over packing the food and I am still figuring out the perfect quantity of food to pack for my trips.

For a full day of hiking, a person needs 2 proper meals – breakfast and dinner. During the day, trail mixes and energy gels will do the work of replenishing your energy. Based on the length of the hike and weather you may also opt to take a lunch break in the afternoon. It is also very important to drink lots of water throughout the day to prevent dehydration.
There are many options of food available in the market. Some may prefer freeze dried food, others may prefer to cook raw beans, lentils and meat. I personally like to pack a mixture of Trail Mix, Energy Gels and Candies for snacks. For breakfast and dinner, I buy easy to cook or freeze dried pouches which are easy to prepare. These are some of the brands which I like – Mountain House, Backpacker’s Pantry, GOOD TO-GO and AlpineAire Foods.
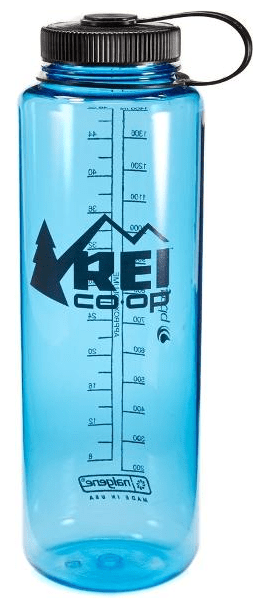
For water, I recommend carrying a 2 liter bottle which can last for an easy-to-medium level hike. For strenuous hikes, carry 2 bottles. If you are going to hike in a dry terrain, where it is difficult to find water source for refills, then carry enough water to sustain the whole trek. Also, do not forget to pack tablets to treat water which you can buy from any outdoor & recreation stores.
Cooking Food
Cooking in the wild is nothing like cooking in a kitchen with a plethora of utensils. You will most likely have only one pot to cook and sometimes you may also have to cook in the dark without electricity.
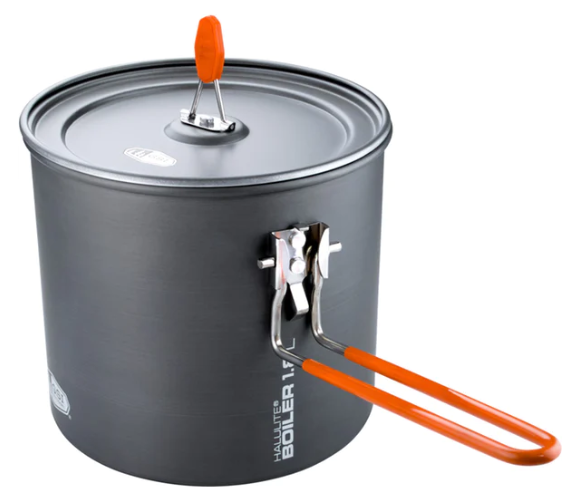
But, this should not discourage you or scare you from cooking in the wild. Nowadays, there are wide range of sophisticated cooking stoves available. Based on your preference, weather, cooking needs, you can select from various types of cooking stoves available – canister, liquid, tablet or wood.
Out of all the options, canister stoves are the most popular. Even I use a canister stove. They are popular because firstly, they are super easy to use, secondly they can be used in windy conditions and last but not the least, they are small and light. Canisters are easily available at campgrounds and outdoor stores.

I have a MSR PocketRocket 2. MSR is one of the most popular brands for backpacking stoves. Almost all campgrounds, visitor centers and outdoor & recreation stores will have an MSR canister.
Other Accessories
Photography Essentials
The most recent addition to my back pack is my Sony Alpha A7III mirror-less camera. Lately, I have developed a hobby of capturing photographs of stunning landscapes during my travel adventures.

If you are having a DSLR or a Mirror-less camera, it is advisable to carry an extra battery with you.
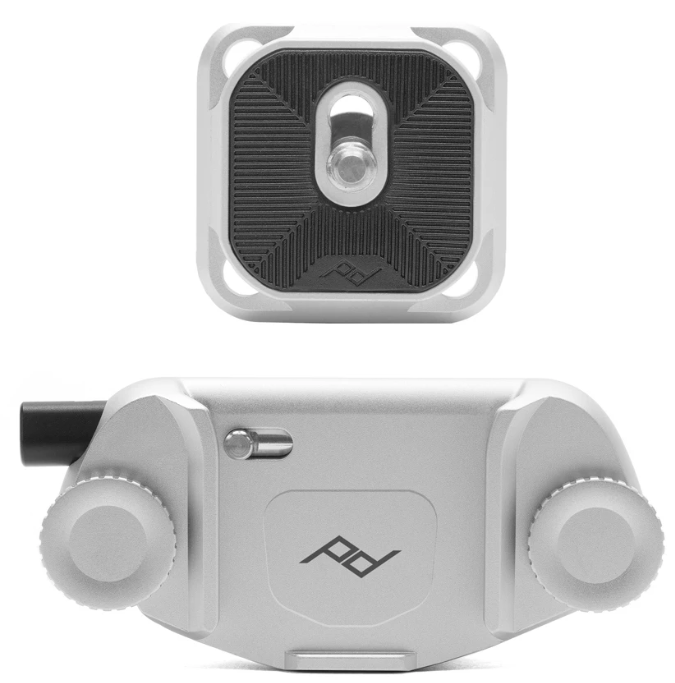

Also, consider buying a Peak Design Capture Clip. I just bought this product and I am absolutely in love with it. Peak Design Capture Clip has made my camera so accessible to me while on the move.
Other Essentials
There is a list of other small accessories, some of which are important to carry and some are nice to have.

Accessories which are important and very much required are listed below:
- Toiletries – It includes paper rolls, wipes, and hand sanitize (Read about the ‘leave no trace’ policy for leaving waste in the wild for the area where you are going to hike)
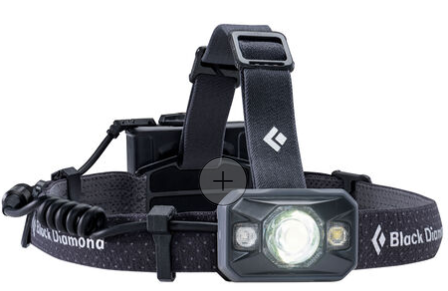
- Torch/Head lamp – I prefer a head lamp over torch because I like to keep my hands free (it also helps while building a tent or for cooking in the dark). I have a Black Diamond head lamp. They have a huge variety of head lamps to choose from.
- Trekking Poles – Trekking poles are essential piece of equipment for hikes in difficult terrains. It is wise spending more money to purchase a set of good trekking poles if you are going to hike regularly in difficult terrains. I love my Black Diamond Alpine Carbon Cork Trekking Poles. They are super sturdy and are one of the best poles available on the market. They are an amazing choice for 4 season alpine terrain. Also, do not forget an additional snow baskets for hiking in snowy terrains.
- Trail Map – So that you never get lost in the wild!
- Utensils – Cooking pot, spork (combination of a spoon and a fork), knife, cup, bowl (you can use your cooking pot as a bowl to save some weight)
- Medical First Aid Kit – Accidents don’t come knocking!! Always carry a medical kit with you and make sure that the medicines are not expired before you head out for the trip
- Wallet, Keys, Passport (if travelling internationally) – Do I even need to mention these 😛
Some nice to have accessories are listed below:
- Repair Kit – This is a nice to have item in your bag in case if your tent or sleeping bag ruptures. Since, this article is geared towards a weekend backpacking trip, repair kit is not listed as a mandatory item. For longer trips, repair kit is an essential item in any packing list.
- Camping Chair – Camping chair is one of my latest addition to my camping gear. I have a REI Co-op FlexLite Air Chair which is extremely light – 1 pound, and with a weight capacity of 250 pounds. It also folds and packs in a stuff sack smaller in size than that of a sleeping bag.
- Book – It is nice to have a book to read or to write about your adventures while relaxing at campsite and sipping a hot beverage!!
- Insect Repellents / Bear Sprays – It may be required based on the country/region you would be hiking in
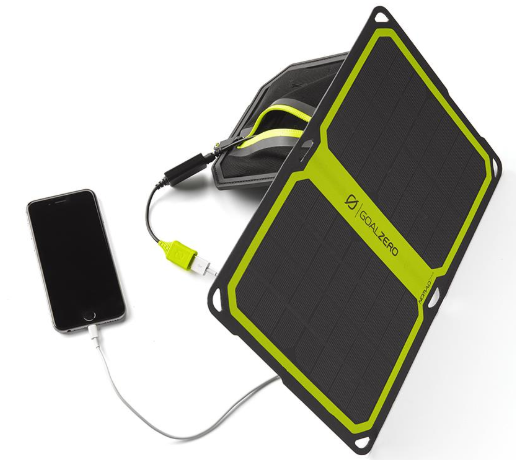
- Solar Powered Banks – In case you do not want to get disconnected from the digital world. I like Goal Zero Solar Panels, they are reasonable, portable and have a good performance.

Conclusion
I have tried my best to include a list of all the items required for a weekend backpacking trip. If I forgot something or you think is necessary, kindly mention it in the comments section below.
Note: It is not possible to list all brands that manufacture the products that are mentioned in this article. Research and check which brands are well recognized and available in your country or region before buying.
Like, Comment and Share this post with your friends & family and help me reach out to a wider audience.
Happy backpackin’ & Cheers – Shobhit – @originalglobebackpacker

2 responses to “What should I bring on a weekend backpacking trip?”
This was really helpful.
LikeLiked by 1 person
Thank you!!
LikeLike